Wednesday, March 30, 2011

The high chair!

I got this high chair at yet... you guessed it... ANOTHER garage sale! It was listed for $25 (what!) and another lady working the sale told me $5! WOO! I was so excited! I got it like almost 2 years ago. I tried to use some of the wood oil on it to get nice again... but alas no such luck.

So, since I did my table red, I decided to do this red too... I debated on color for quite a while since this was going to be a "unisex" item. Alas, I settled on red.

Here it is before...

The tray was totally dingy, rubbed and banged up.

However, this was my favorite part of the whole high chair. The detailed carving work!

The high chair had this bar across the lap and it seemed totally pointless... I mean unless it was to keep the child in when the tray wasn't on, but they could still slide under or just climb out. So I decided to unscrew the bar.

I then primed it white with the KILZ spray primer.

I then used Rust-o-leum's Colonial Red to paint.
It's the best red I've found. It's the same color as the table.
This is what it looked like before I glazed it black!

The end result is AMAZING!

You ready?

...

TA-DA!!!
Isn't it beautiful!?

I like it so much better without that weird bar...

The glaze REALLY brought out the detail work in the wood! I really love it!

I just love all the detail in the whole thing too.


What do you think!? Awesome huh?!
Did I mention how much I love it!?

Well... we close TOMORROW on our home! So maybe between signing our life away, the carpet picnic, our sleepover in sleeping bags, tearing out tile and pergo flooring and doing some painting... (oh... the list goes on) I'll post some updates! However, don't be surprised if you don't hear from me for a bit. (However, I did get our internet set up to be installed next Tuesday!)

Wish us luck!!!

Sunday, March 27, 2011

The buffet table

Sorry it's been a little bit since my last reveal... I've had quite the busy week with my daughter turning 3... plus we are closing our our house THIS WEEK!!! YEAH!

Anyways... I got this piece for.... FREE! Yep... this was from my grandma's ol' storage room. (It's amazing the stuff you can get to refinish out of your grandparents basement!) She decided to get rid of it and I quite honestly, I debated about this project. I didn't know if I could pull it off. But alas, I figured I would try and then if it didn't work... get rid of it myself!

Here are the BEFORE pictures...
Old and dingy... but def some potential there...

It opens up to expand, hence buffet table. My grandma literally used it as the buffet table for our family dinners to put all the dishes on.


This piece will be going in our Living Room. In there, we are getting new carpet that is a warm topey color. It's actually called Mellow Maple I believe. Then the walls will be a greenbrier beige
I have dark green microfiber couches with pillows that have some bold patterns with black, grey, mustard yellow and brown and cream. I got the color idea from here.

I sooo excited for the finish product!

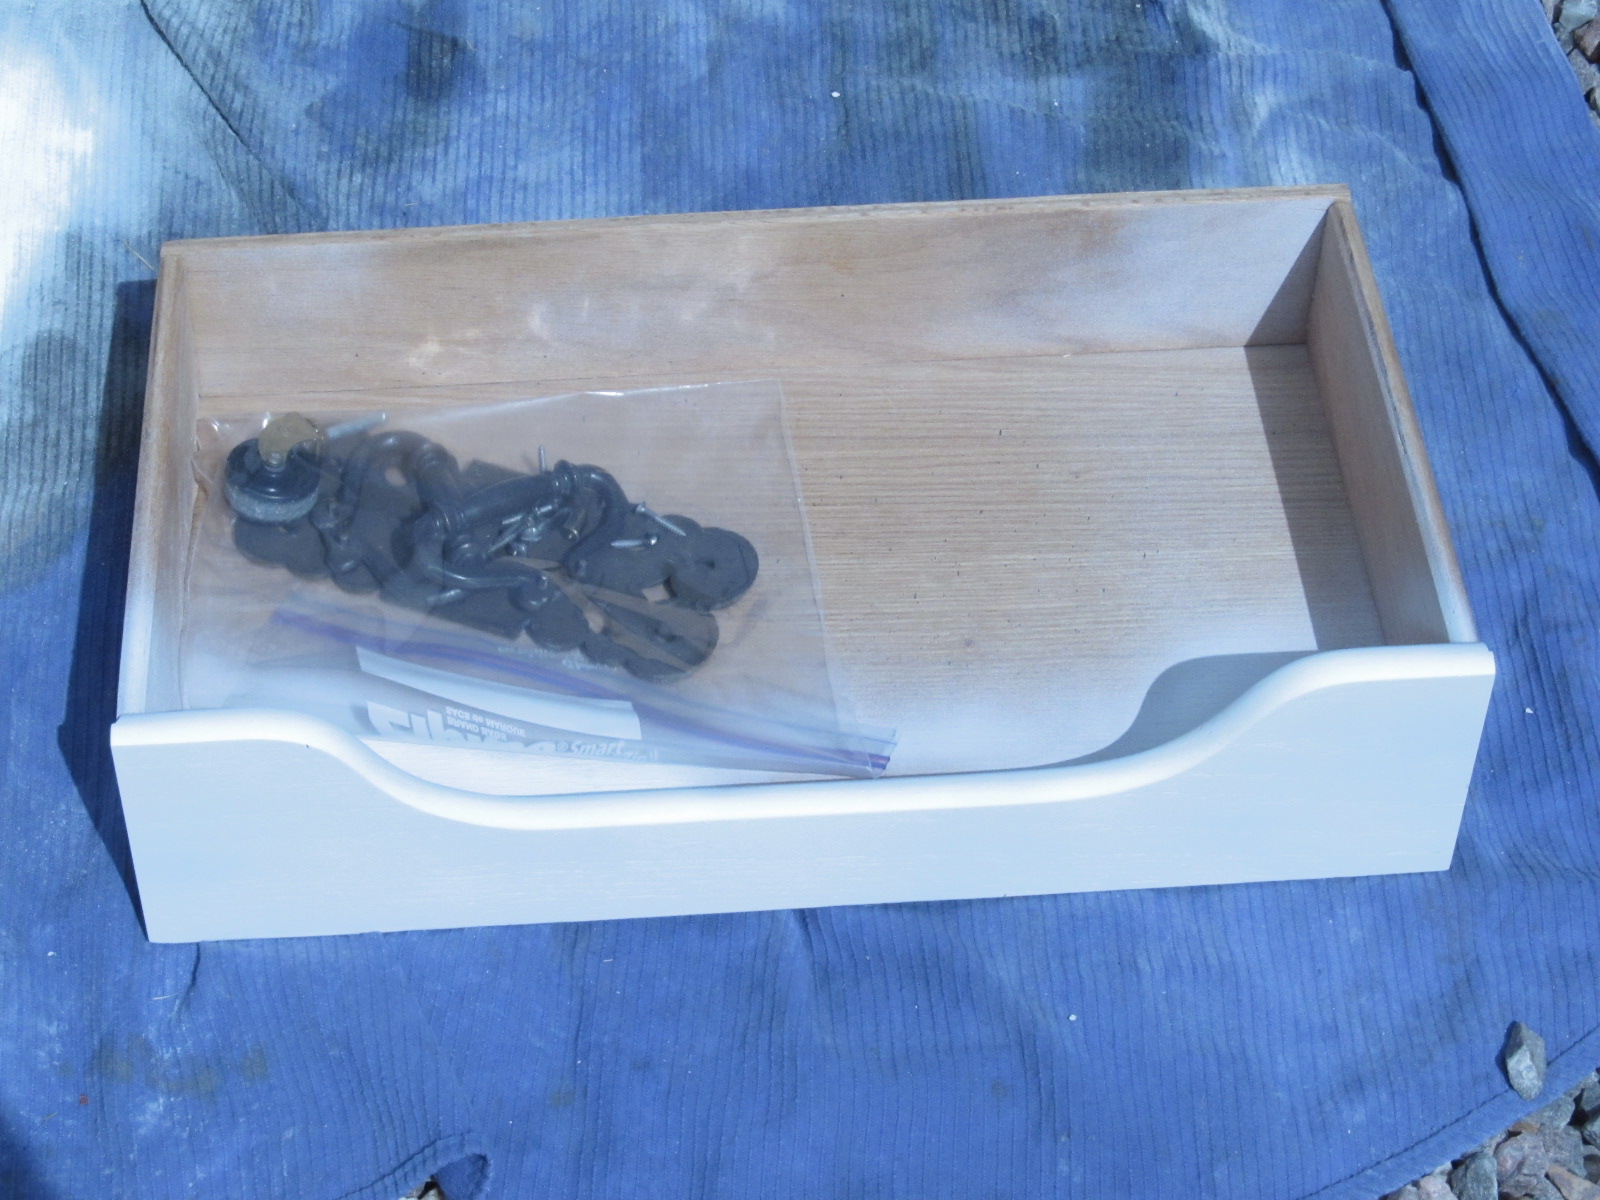
I first started off by take all the hardware and doors off and taping up the hinges and top of the table.

I then primed it with KILZ primer (do NOT use the odorless one...its horrible). With this stuff, you are not required to sand before hand. I LOVE it!


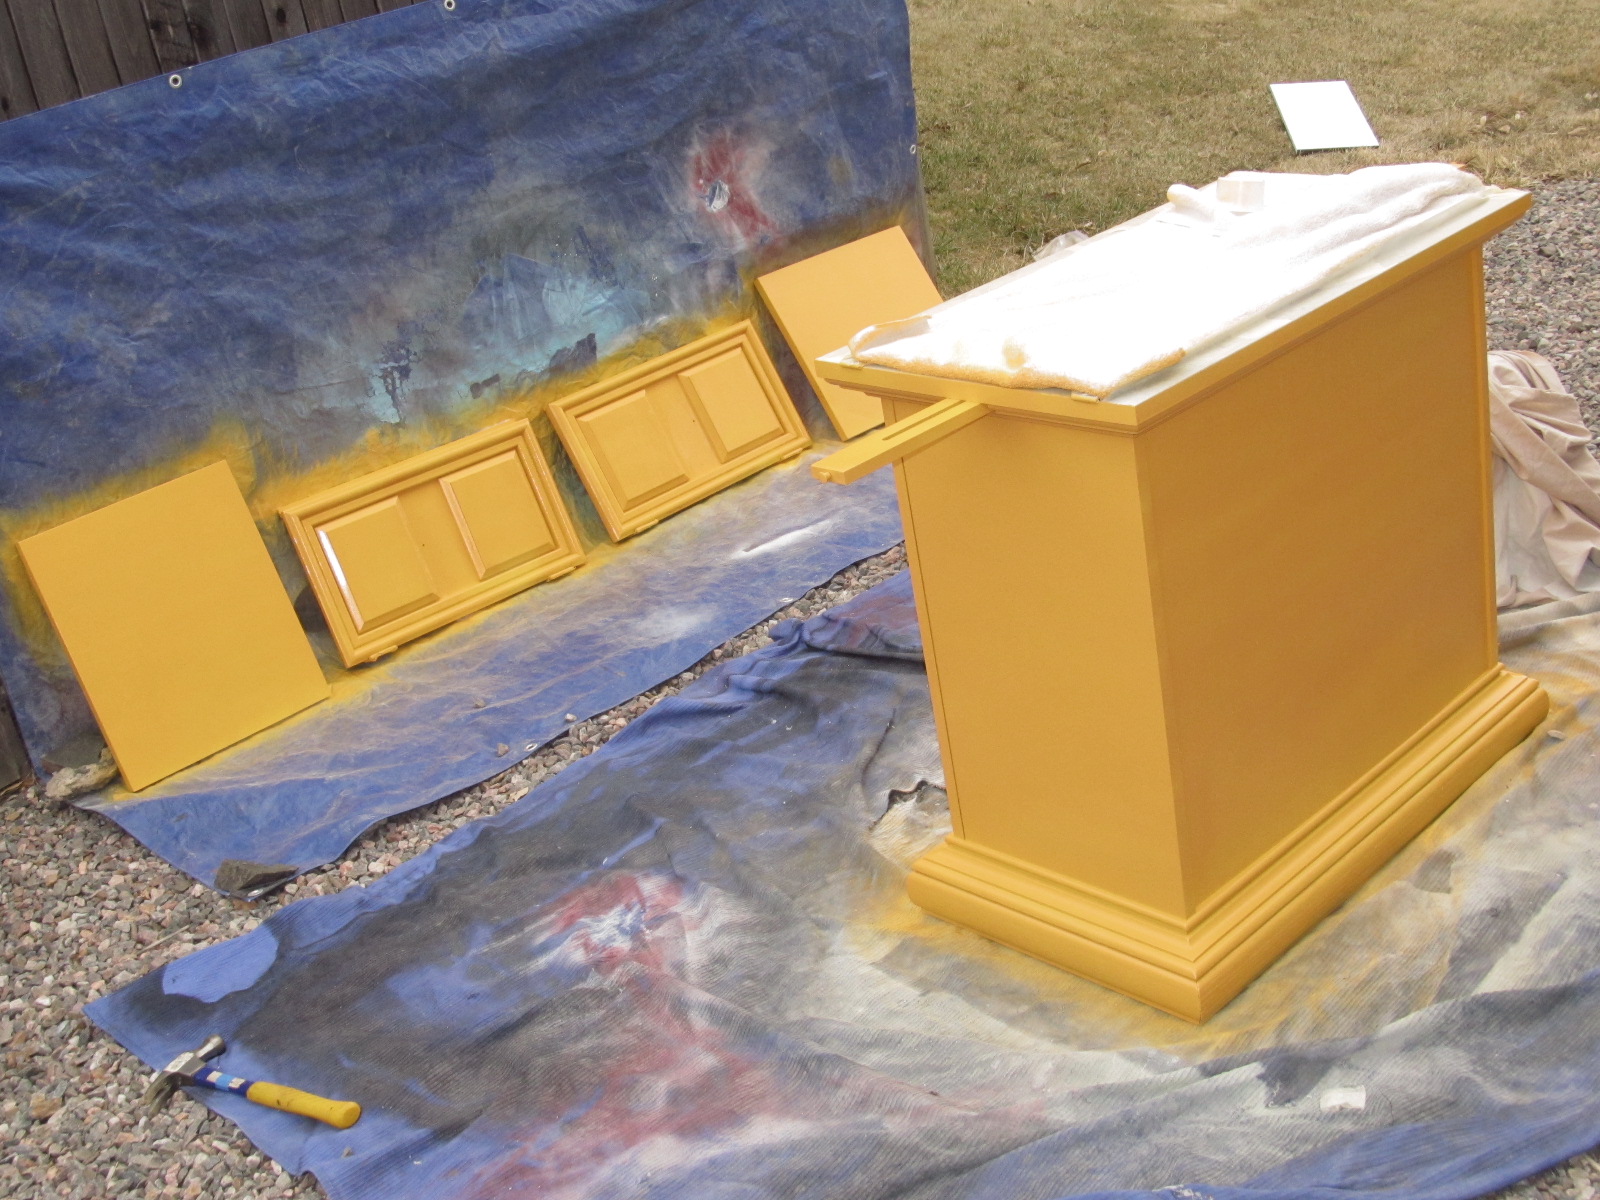
I then waited until the primer was dry. I actually waited like 24 hours. Then I sprayed everything with the Krylon spray paint. The color I used was the Bauhaus Gold. I love it!

This stuff dries REALLY quickly and so it made it easy to get it all done in just one morning. I was then able to glaze by that afternoon. Make sure you let it dry for a little bit longer than the can says, just so you dont pick it up and find out the under layers are wet and you create a smudge. (In that case, just wait til its dry, sand that spot and repaint it...)

I then was ready to glaze. Doing this makes me so nervous because it dries rather quickly and you need to wipe it off almost right after you put it on.
I use Ralph Lauren's glaze. Its been recommended most. When you buy it, make sure you ask them to tint it for you. It doesn't come tinted. I have them do it in black.

This is my glazing station all set up! (P.S. I love the Diet Dr Pepper Cherry, but I the reason there is so much is because it was on sale and when we move into our house, we will be house poor and soda is one thing we can cut out... so... we stocked up. ;) Plus, it makes for good use to help prop things up while you paint!)

This is what it will look like when you apply the glaze. You would then take a rag and wipe it off, going WITH the grain of the wood... this is key!!! Make sure you get in the corners and crevices to really make sure you get the "antiqued" look you want.

Make sure you let the glaze also dry for about 24 hours just to be on the safe side.


Now.. are you ready to see the finished product?

....

here

....

it

...

IS!!!!
....

TA-DA!!!


Isn't is fun!? Now, I understand some people don't like bold things, especially for furniture... but not this lady!!! :D

I did have to spray the top black a little to cover up some of my spills I got on it...


This table will serve as my entry table with a lamp of some sort and a bowel with some fun things in it... Don't worry all the ideas that are swimming around in my head are just WAY too much to put down in writing... ;)


I did spray the handles and hardware in a metallic black. I really think it helps make everything just POP!!!

I ABSOLUTELY love it!!! I'm so excited to get it in my house!!!


Thursday, March 17, 2011

(My favorite) Garage Sale #3 Transformation!

Ok... this is by FAR my favorite transformation yet...

This guy was $5! That's it!!! You can see on the far right of the trim around the middle how banged up and chewed up it is... Well I got my sweet old handy hubby in on this action! I even bought some satin bronzed black spray paint for the handles.


Before shots... (after I had taken off the handles)


...and...

TA-DA!!!
Isn't she purr-ty?! I primed her, the painter her an ivory satin spray paint and then did the glazing technique I learned with a wood stain instead of the ralph lauren tinted glaze.

Did you notice the trim? Yep.. we completely TORE OFF the old stuff and replaced it with some cute new stuff from Home Depot. (It's like $7-8 for about 7' ) I absolutely LOVE it!
I even roughed up the edges after painting with some sandpaper and THEN added the wood stain to give it more of an "antique" look.

I plan to use her as my nightstand in our room! Now, to find a matching one for the hub's side...

Our next project is to MAKE a headboard like this! Yes, we can do it.. it would be so easy and SO much cheaper than buying it from Pottery Barn!


Garage Sale #2 Transformation

This guy I got for $5! The previous owner tried to repaint it, as noted by their old paint strokes and stain inside. This only took 1 can of primer and 1 can of paint as well. Bringing her to a total to $8 (again, had some primer at home)! I plan to use this guy as my daughters nightstand! I'm so excited to place everything in my house... ONLY 2 WEEKS TIL WE CLOSE!!!

Before shots...
*by this point, I had already taken off the little handle to repaint too...

and...

TA-DA!!!
She was still wet when I took this picture, that's why the paint doesn't look even.

This was my first project, (minus my kitchen table and chairs re-do)...


Garage Sale #1 transformation

Here is my first reveal garage sale reveal! Again, she was only $15 so plus 1 can of primer and 1 can of paint, plus some quarter cut fabrics on sale at the store for $1/each, brought her total cost to $21! (I already had some primer and and glaze, so I didn't need to account for that in the cost.) She turned out to be quite the cute little thing. I'm quite excited.

Before shots....
She was quite beat up, but I knew she would be good with a fresh can of paint.
and...

TA-DA!!!
I couldn't decide what fabric I liked most, so I did all three! Too much? I like it...
Now usually, I will post how to do these things, but I did this last fall before I decided to start this blog. This was only my second project learning how to do all this.
Please leave a comment with what you think or any suggestions you would have done!