Here was our first project completed in the house! The main floor half bath!
Before...

AFTER!!!

We got this baby for $100 at good ol' Home Depot. The drawer under the sink is really actually a drawer too!

I love everything about this bathroom!


 Something to notice on our tour, NOTHING MATCHED ANYTHING!
 Front door and linen closet...
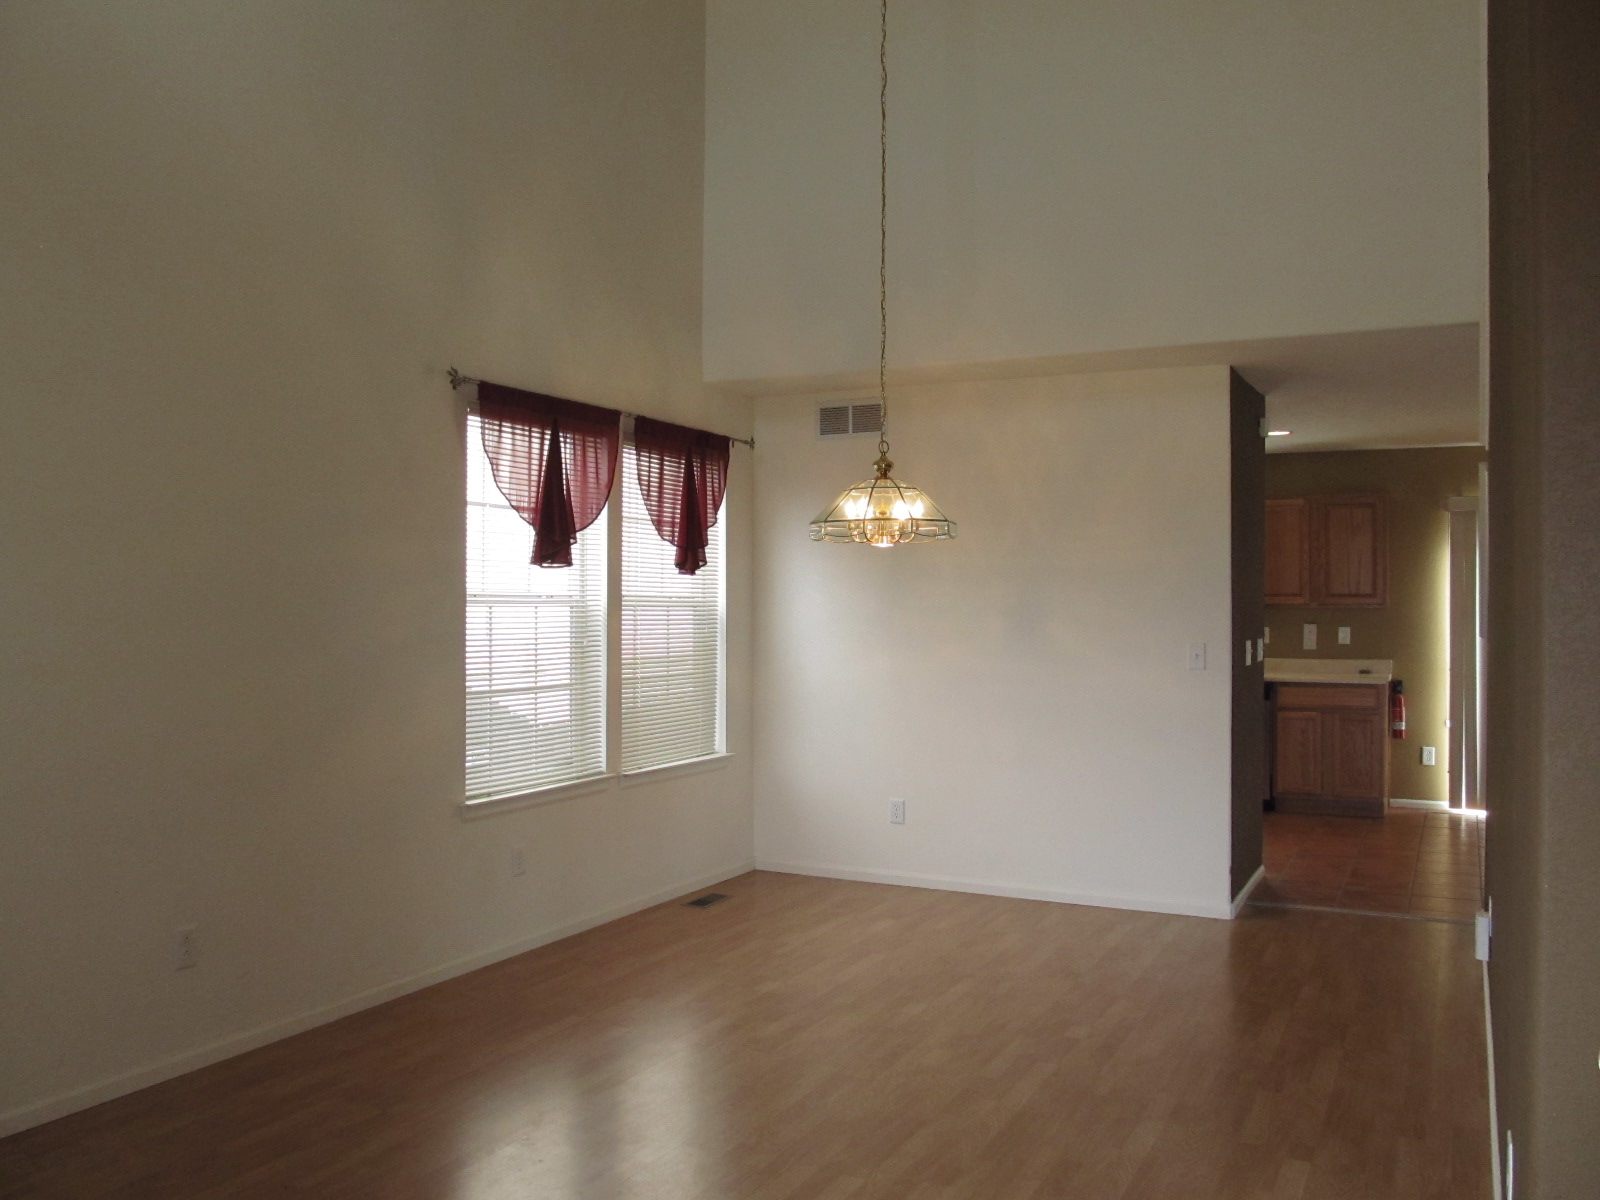
 As we continue into the house, we walk into the kitchen and family room open area.
 This is the kitchen.
 We love the family room! It's huge. I love how open it all is too. This room wasn't bad. Carpet just needed a good cleaning. The paint in here, wasn't too bad. Not my favorite, but livable. It's a brunswick beige we concluded. The curtains were kinda ugly, but again livable and VERY easy to change.
 The half bath on the main floor.
 Our 2 car garage! (Or my "studio" we like to call it) We currently can only park one car in there because of my "to-do" list of all the pieces I have to refinish. Seriously, there are like 10 in there... so LOTS for me to do and posts for you to see! yeah!


 We are anxious for any guests to come visit and stay with us!
 The second room down the hall is the 2nd bedroom (Tanner's room).
 His is the smallest out of all the bedrooms, but still a GREAT size.
 The view out of Tanner's room. Guest room on left, kids/guest bathroom on right and the stairs at the end of the hall...

 The closet on the left and entrance on the right.
 MASTER BATHROOM! We FINALLY have our own bathroom!
 Master bathroom... although it's nothing quite "master" about it. It's the same size as the kids', but we're just excited we have our own! :D
 Next is the 4th bedroom (Brooke's room). THIS IS HUGE! It's the biggest of the kids' rooms. 11X13. Yeah, I could fit a bunk beds, and another twin bed in here if I wanted... So eventually we'll have kids "bunking up" together... but for now Brooke gets it all to herself. I would have killed to have a room this big when I was growing up...
 The view out of Brooke's room. Master on left, guest room on right!
 Now, back outside... our backyard! We were able to talk with the last owner after closed and found out what the 3 trees were in the backyard. We have a crap- I mean crab apple tree, an oak (as seen on the right) and an aspen shoot from our neighbors yard. We also have grapes!!! We hope to get a swing set someday, along with some peach trees and garden grow boxes.
 That concludes our tour! That's our home!!! Does it look like a blank canvas to anyone else?! ;) Ha! I'm so excited and have about a million ideas of stuff to do... but some will have to wait. I think we have the next 15 years of tax returns already planned out. Hehe.. however I'll doubt we'll be in this house that long, but who knows!!! The thought of moving again makes me TOTALLY cringe!
 We are OFFICIALLY homeowners!!! Yeah!
 Stay tuned for more updates and projects I do!


Well... we close TOMORROW on our home! So maybe between signing our life away, the carpet picnic, our sleepover in sleeping bags, tearing out tile and pergo flooring and doing some painting... (oh... the list goes on) I'll post some updates! However, don't be surprised if you don't hear from me for a bit. (However, I did get our internet set up to be installed next Tuesday!)
Wish us luck!!!
 Old and dingy... but def some potential there...
 It opens up to expand, hence buffet table. My grandma literally used it as the buffet table for our family dinners to put all the dishes on.

 This piece will be going in our Living Room. In there, we are getting new carpet that is a warm topey color. It's actually called Mellow Maple I believe. Then the walls will be a greenbrier beige
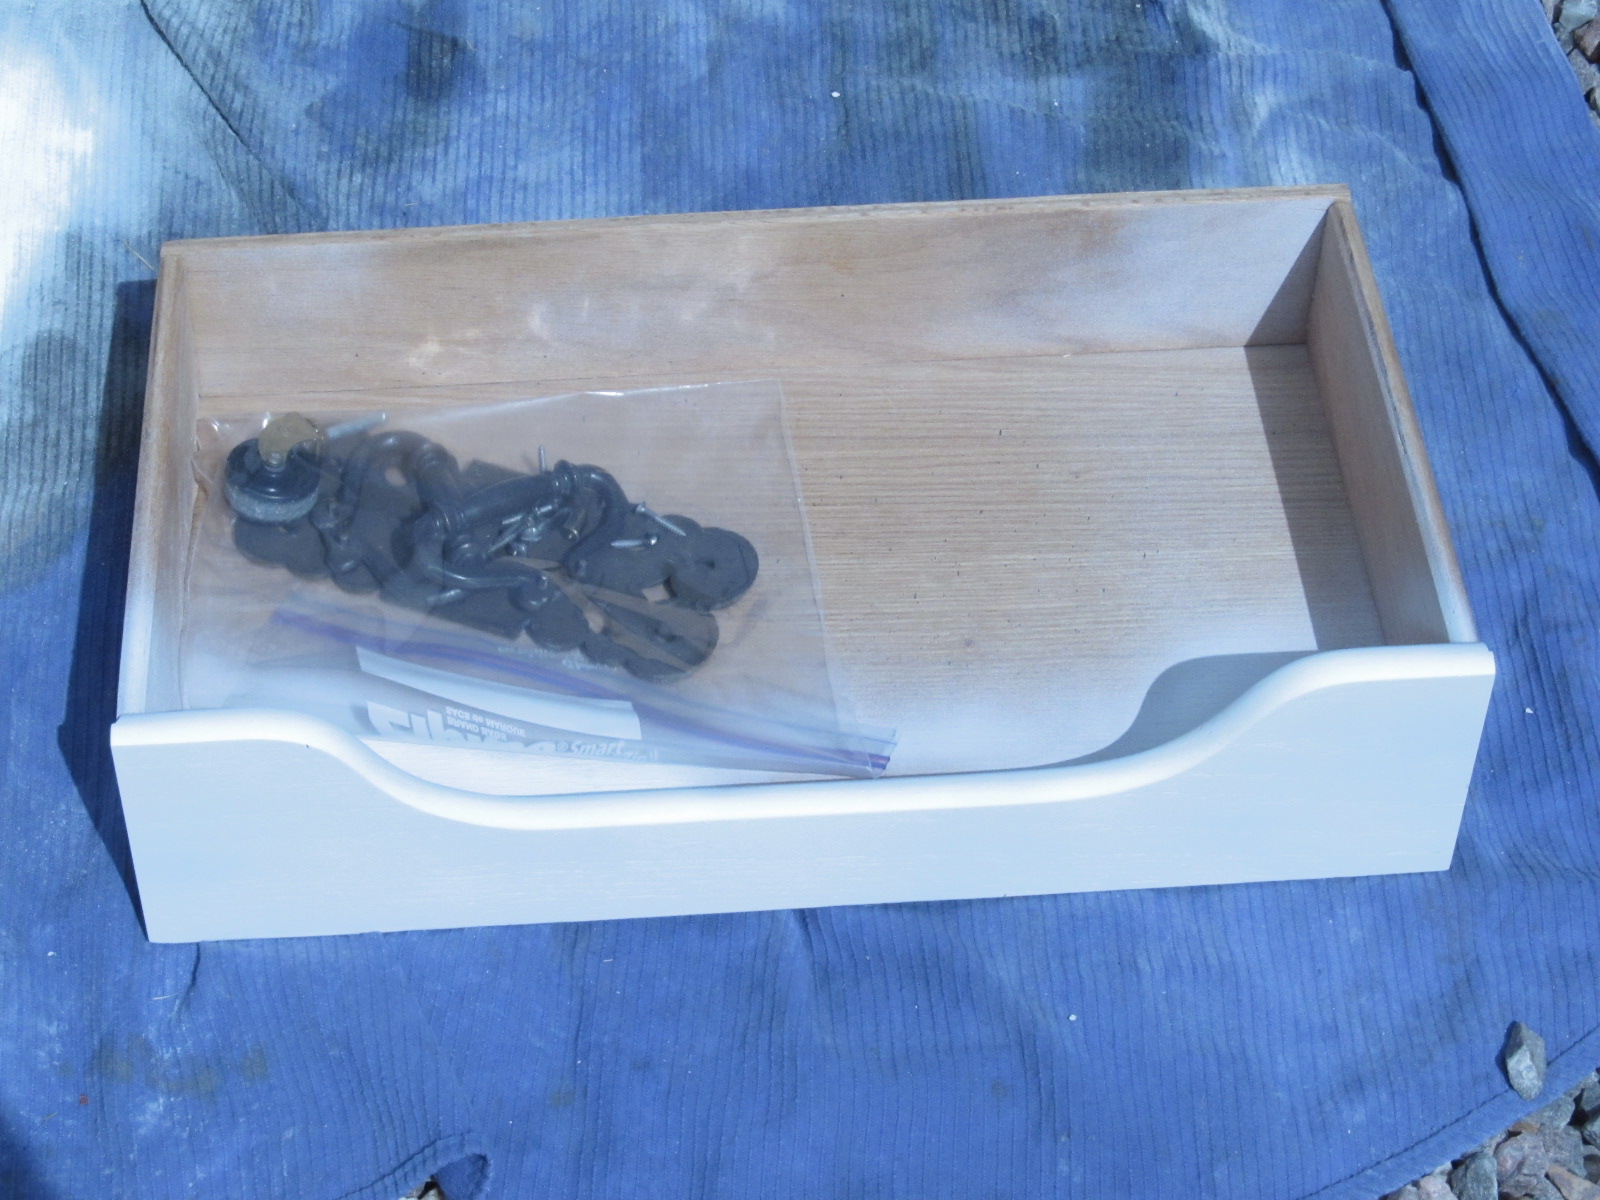 I first started off by take all the hardware and doors off and taping up the hinges and top of the table.

 This stuff dries REALLY quickly and so it made it easy to get it all done in just one morning. I was then able to glaze by that afternoon. Make sure you let it dry for a little bit longer than the can says, just so you dont pick it up and find out the under layers are wet and you create a smudge. (In that case, just wait til its dry, sand that spot and repaint it...)
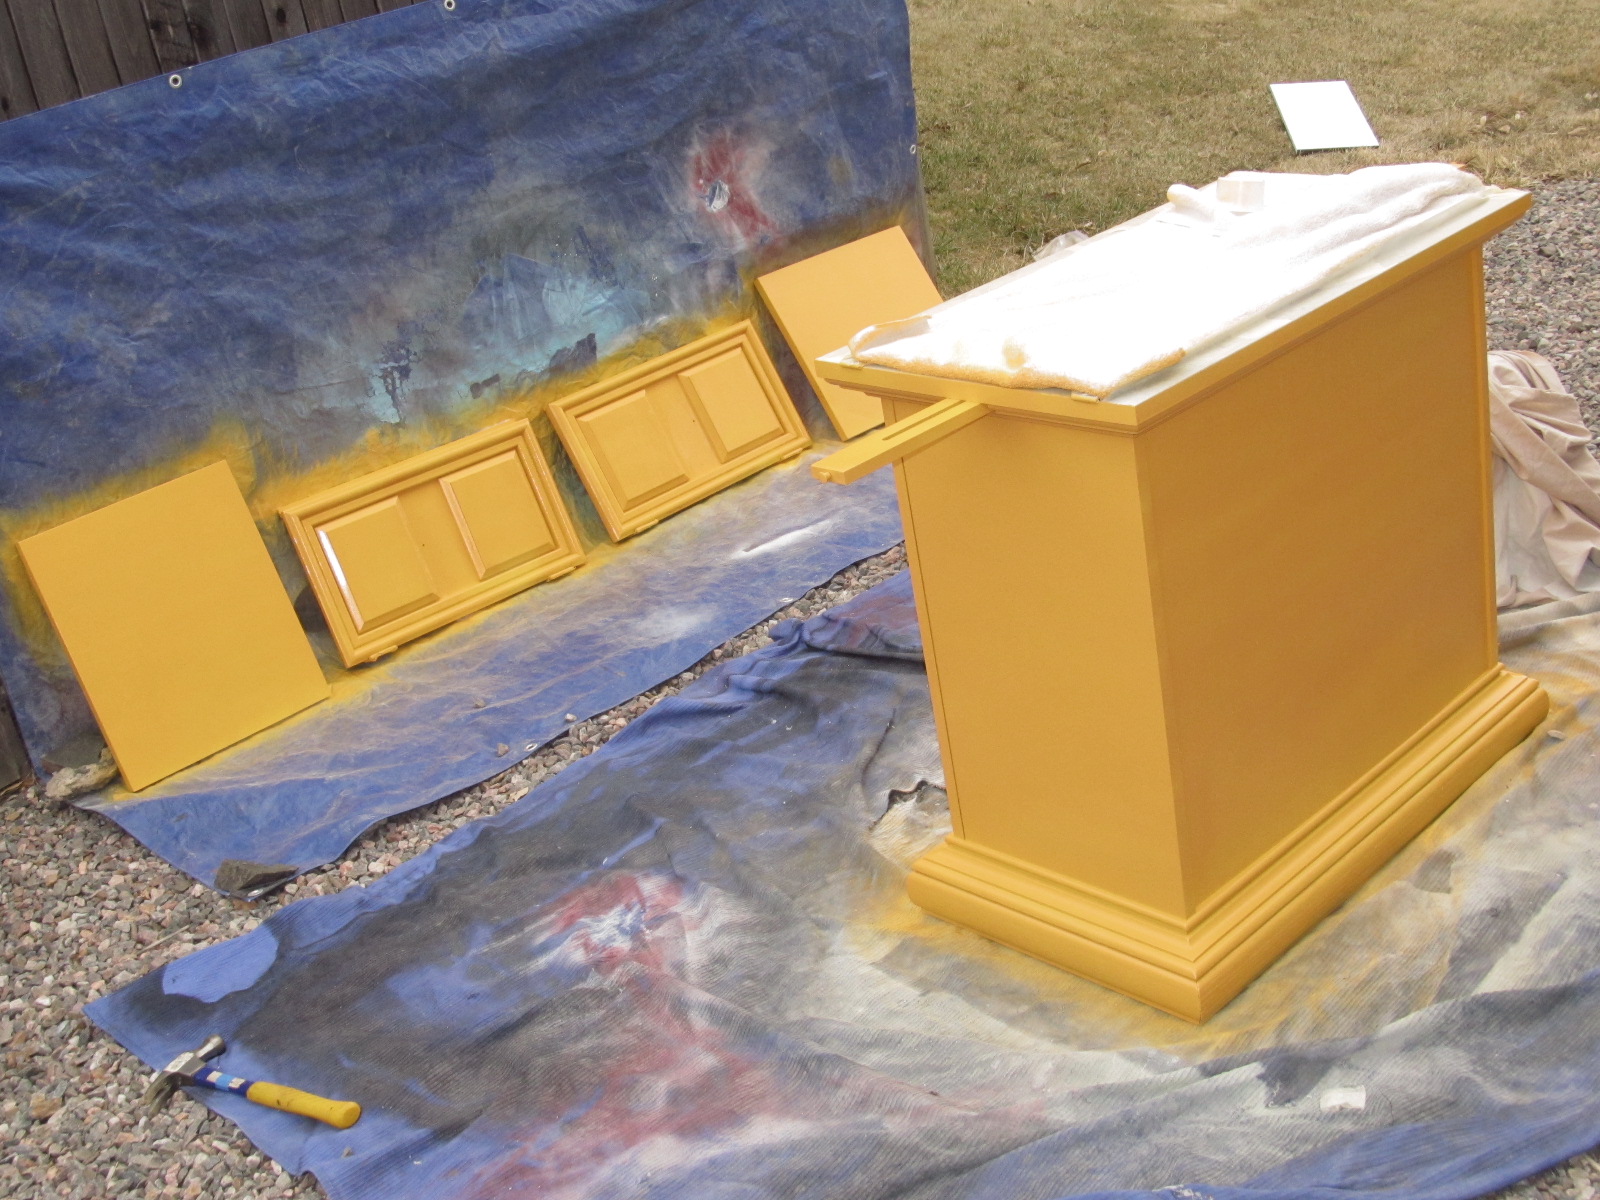 I then was ready to glaze. Doing this makes me so nervous because it dries rather quickly and you need to wipe it off almost right after you put it on.
 I use Ralph Lauren's glaze. Its been recommended most. When you buy it, make sure you ask them to tint it for you. It doesn't come tinted. I have them do it in black.
 This is what it will look like when you apply the glaze. You would then take a rag and wipe it off, going WITH the grain of the wood... this is key!!! Make sure you get in the corners and crevices to really make sure you get the "antiqued" look you want.
 Make sure you let the glaze also dry for about 24 hours just to be on the safe side.
 Isn't is fun!? Now, I understand some people don't like bold things, especially for furniture... but not this lady!!! :D


 I did spray the handles and hardware in a metallic black. I really think it helps make everything just POP!!!